English
 Español
 русский
 日本語
 عربى


Content
- 1 What a Chamfer Strip Really Does to a Concrete Arris
- 2 Chamfer Sizes, Angles and Profiles: Matching the Strip to the Element
- 3 Magnetic, Nailed or Glued: Choosing a Fixing Method
- 4 Fresh Concrete Pressure, Vibration and Heat: What Actually Moves a Chamfer
- 5 Reuse Life, Cleaning and Release Agents
- 6 Six Defects at the Chamfer Line and How to Fix Them
- 7 Setting Chamfer Strips on the Pallet: A Repeatable Sequence
- 8 Cost, Lead Time and What to Put in the Purchase Enquiry
- 9 Precast and Site-Cast Edges: The Same Strip, Different Priorities
- 10 Frequently Asked Questions About Chamfer Strips for Concrete
- 10.1 What size chamfer strip should I use on a 150 mm precast wall panel?
- 10.2 Are magnets strong enough to hold a chamfer strip during vibration?
- 10.3 How many pours can a PVC chamfer strip survive?
- 10.4 Can a magnetic chamfer strip be used on timber formwork?
- 10.5 Does a chamfer strip weaken the concrete edge?
- 10.6 Is 45 degrees better than a radius?
- 10.7 Why is there a fin along my chamfer line?
- 10.8 What curing temperature is too hot for a magnetic chamfer?
- 10.9 Do chamfer strips need release agent?
A chamfer strip is the smallest item on the pallet and the one most often blamed when an edge comes out ragged. For most precast plants the working answer is simple: a 20 mm x 20 mm, 45 degree PVC strip on a steel pallet, held by magnets at 300 to 400 mm centres. Thin architectural panels of 100 to 120 mm usually run better on a 15 mm leg, heavy beams and bridge elements on 25 mm, and a radius profile replaces the 45 degree face wherever chip resistance matters more than a sharp shadow line.
That combination wins for practical reasons rather than theoretical ones. A magnetic strip takes seconds to set, leaves no staple holes in the mould face, pulls away at 45 degrees without levering the arris, and survives dozens of pours when it is cleaned and stored flat. Nailed strips on plywood still work and glued strips still have a place on one-off forms, but neither matches the changeover speed of a magnetic system on a repeating pallet.
The details that decide the result are covered below: profile size and angle, fixing method and spacing, how fresh concrete pressure and vibration interact with a narrow profile, what a steam cycle does to a magnet, reuse life, the defects that appear most often, and a step sequence that keeps a plant repeatable.
- Element thickness and joint width, because a 25 mm chamfer on a 60 mm kerb removes too much of the arris.
- Mould material, because magnets need a steel or steel-faced face to work against.
- Curing temperature, because standard neodymium grades lose strength above roughly 80 degrees Celsius.
- Joint quality, because a butt joint with a 1 mm gap leaves a fin on every single panel.
What a Chamfer Strip Really Does to a Concrete Arris
A chamfer is a bevel formed on the edge of a concrete element, normally at 45 degrees. The strip that forms it does four jobs at once: it removes the sharp arris that chips during stripping, transport and handling; it creates a controlled release line so the mould opens without tearing the corner; it produces the shadow line that architectural concrete depends on; and it gives sealant a defined seat at panel joints. None of those jobs is cosmetic in a plant casting the same panel fifty times a week.
Edge damage is the cost driver. A chipped or spalled arris on a visible face has to be ground, filled, or the panel downgraded, and patching is hand work at the end of the line where labour is least productive. A correctly sized chamfer moves the failure point away from the arris because the bevel gives a gradual line of contact as the mould is stripped.
The structural effect is small. A 20 mm x 20 mm chamfer removes a triangular area of about 200 square millimetres per metre of edge, roughly 0.1 per cent of the cross section of a 150 mm thick panel. That is why chamfers are normally specified on every exposed arris rather than only on the ones that look vulnerable, and why the edge detail is treated as part of the mould design from the first drawing. Our own note on what the chamfer does inside the precast production cycle covers that planning side in more detail.
- Chip protection: the thin arris, the most fragile part of any panel, is removed.
- Release line: the bevel gives the mould a gradual break instead of a tear.
- Shadow line: a defined bevel masks small variations in panel alignment on an elevation.
- Sealant seat: the bevel creates a straight, stable face for joint sealant to bond to.
- Handling safety: a chamfered edge is far less likely to cut gloves and hands during stripping.
Chamfer Sizes, Angles and Profiles: Matching the Strip to the Element
Chamfer size comes from three inputs: element thickness, joint design and required appearance. A useful rule of thumb is that the chamfer leg should not exceed about one tenth of the element thickness, so a 100 mm panel carries 10 to 15 mm comfortably, while a 20 mm leg is generous but still accepted on a 150 mm wall panel. Where a sealant joint is involved, the chamfer seat has to be wide enough to accept the joint width plus the sealant tooling, and that dimension normally settles the argument before aesthetics do.
| Strip size | Typical elements | Points to watch |
|---|---|---|
| 10 mm x 10 mm | Kerbs, thin panels of 60 to 80 mm, small architectural units | Smallest shadow line; a wavy line shows up faster than on a large chamfer |
| 15 mm x 15 mm | Wall panels of 100 to 150 mm, columns, stairs, culverts | Usual choice where sealant joints are narrow |
| 20 mm x 20 mm | Most precast wall panels and beams | Best balance of protection, appearance and reuse |
| 25 mm x 25 mm | Bridge girders, heavy industrial elements, thick sections | Needs firmer fixing; the wider face can bow on long runs |
| 30 mm x 30 mm | Elements needing a wide sealant seat or a deep shadow line | Confirm joint width before fixing the size |
| Radius 20 to 25 mm | Architectural panels, stairs, columns, bullnose edges | Better chip resistance; joints between profiles are harder to hide |
Forty five degrees is the default because it throws an even shadow on both faces of the corner. Where a heavier line is wanted, 30 degree and 60 degree extrusions exist, and a radius is often chosen for precast stairs and columns because a rounded arris has no thin section to break away. One habit saves a lot of arguing on site: keep a single size on every visible face of a project. Mixing a 15 mm and a 20 mm strip on adjacent panels is a frequent source of complaints even when each panel is correct in isolation.
Magnetic, Nailed or Glued: Choosing a Fixing Method
A chamfer strip only has to stay in place while concrete is placed, vibrated and cured, and the forces acting on it are mostly drag, vibration and buoyancy rather than direct pressure from the concrete head. That is why fixing choices are usually about changeover time and mould condition, not about brute strength. On steel pallets the magnetic route is now the default, and the same logic runs through the wider family of magnetic shuttering systems used for side forms, edge rails and stop ends.
Magnetically fixed chamfer profiles are made as a PVC extrusion with a ferrous insert at the back, or as a plain profile clamped by a steel-backed rail. The magnet holds the profile to the pallet, not to the concrete, and releases with a twist or a lever. Changeover on a long pallet is measured in seconds per strip, and there are no staple holes to fill, clean or worry about.
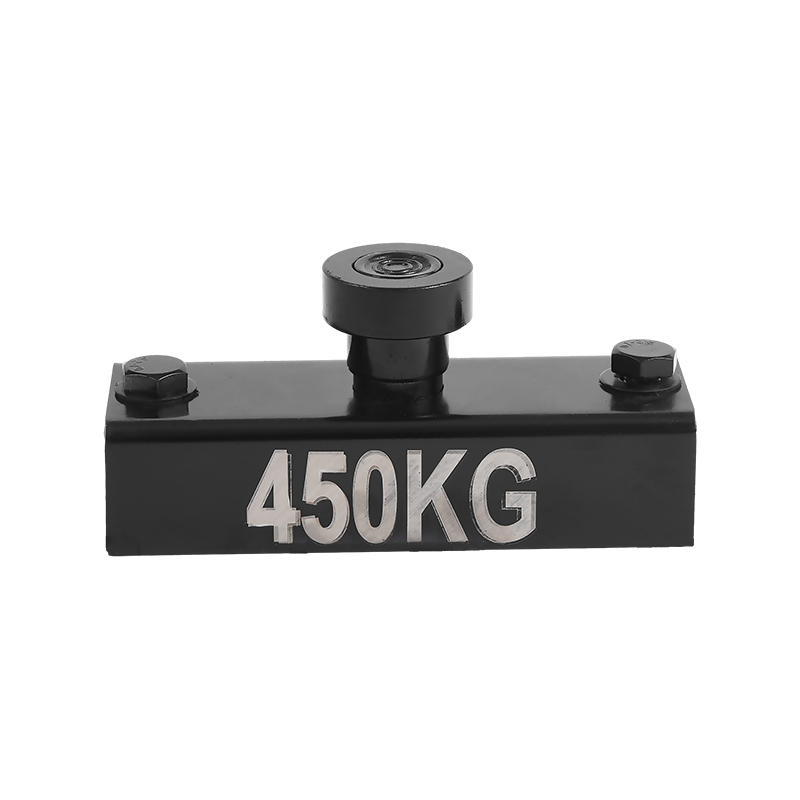
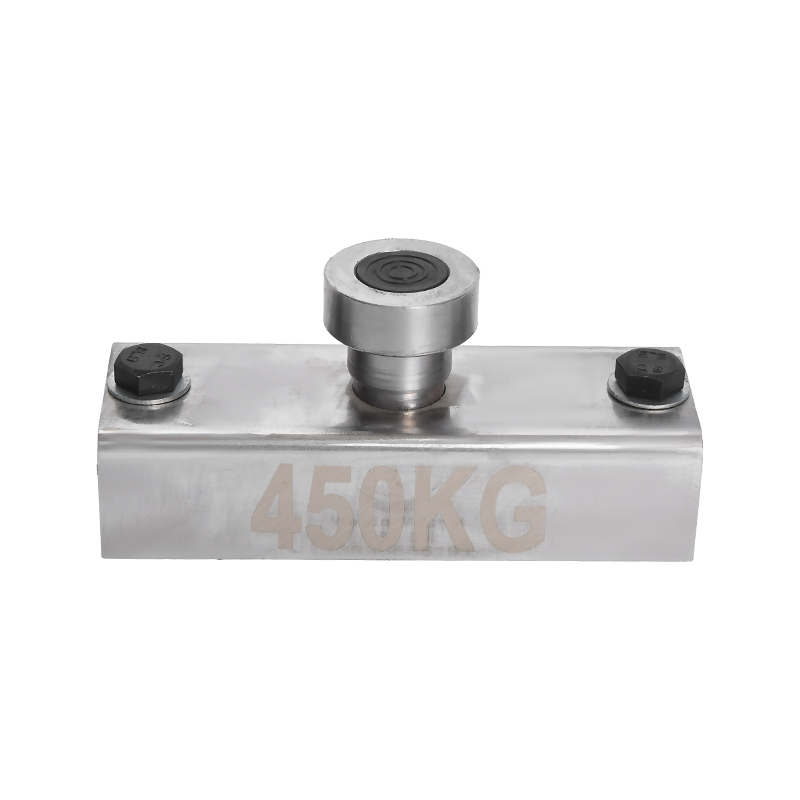
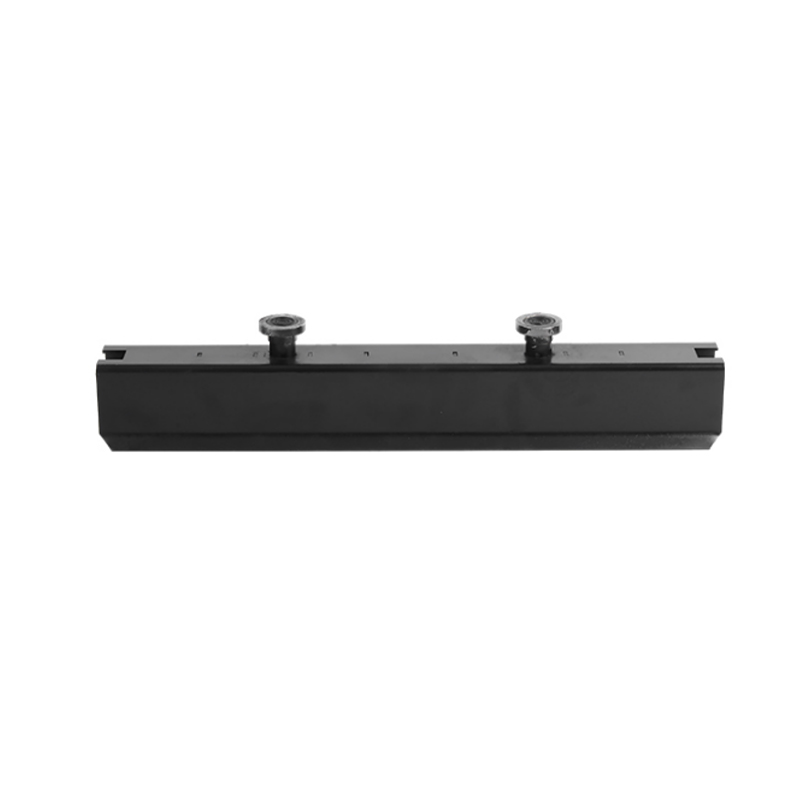
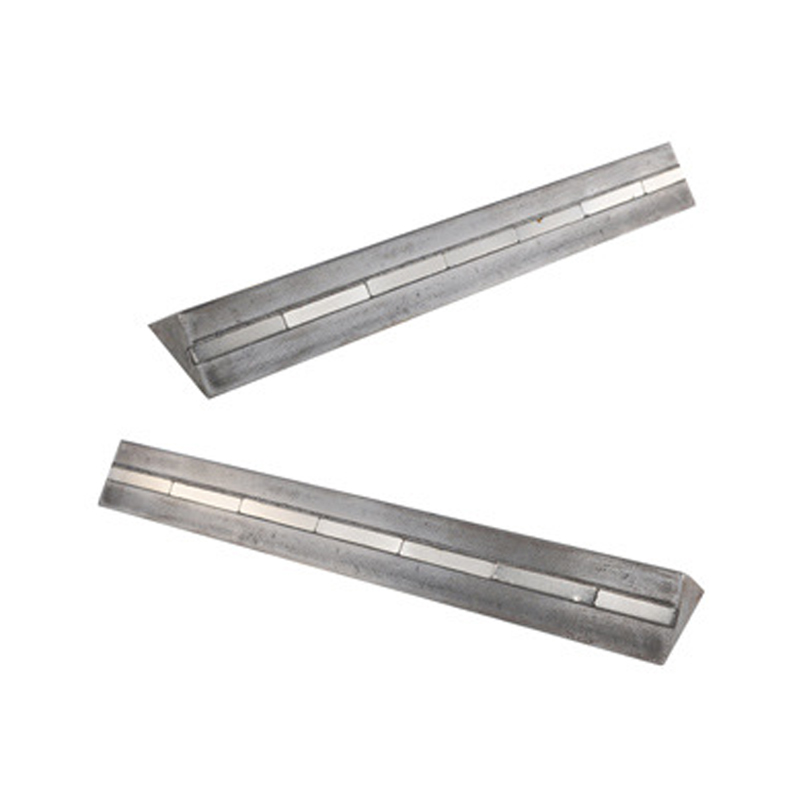 Precast concrete chamferThe precast concrete chamfer is a special magnetic device used to secure and position the chamfer formwork during pouring. The magnet is made of strong magnetic materi...View Product →
| Method | Mould type | Strip reuse | Main weakness |
|---|---|---|---|
| Magnet | Steel pallet or steel-faced mould | High, typically dozens of pours | Does not work on timber or plastic moulds; magnet grade limits curing temperature |
| Staple or nail | Plywood and timber forms | Moderate; edges degrade where fasteners pass | Fastener holes and crushed strip ends |
| Contact adhesive | Any smooth face | Low; glue line builds up and ends lift | Slow cleaning, uneven thickness with heavy glue |
| Steel angle bolted or welded | Steel moulds | Very high | Machining cost; dents print on every panel until repaired |
Nailed strips remain the standard for site-cast work where a form is used a handful of times. Two details decide the outcome: staple at 150 to 200 mm centres, and keep the strip flush with the plywood face. Every bump in the plywood edge telegraphs straight into the chamfer line, and no amount of patching hides it afterwards.
One note on grip that surprises people: fresh concrete presses the profile into the mould face rather than pulling it away, so the magnet mainly has to stop sliding and floating during vibration. A modest holding force spread across more fixing points usually beats one heavy magnet sitting at the end of a strip.
Fresh Concrete Pressure, Vibration and Heat: What Actually Moves a Chamfer
Fresh concrete behaves as a heavy fluid until it stiffens. At a density of about 2,400 kilograms per cubic metre, a 2 m head of concrete produces roughly 47 kilopascals of lateral pressure at the base of a mould, and formwork design methods such as those described in ACI 347 (Guide to Formwork for Concrete) permit reductions only for slower placement rates and cooler, stiffer mixes. That pressure acts on the mould face, and the chamfer profile sits on that face, so the strip is pressed inward rather than peeled away from the concrete.
The forces that genuinely dislodge a chamfer are local. The poker vibrator is the biggest of them. Keep the head 100 to 150 mm away from the chamfer, insert at 300 to 450 mm spacing, and never let the vibrator head touch the profile. Direct contact is how strips shift, and it is also how a honeycombed arris appears on the next panel.
Heat matters twice. PVC softens as mould temperature rises, so an extrusion that feels rigid at 20 degrees Celsius becomes noticeably more flexible inside a steam chamber at 70 degrees Celsius; heat-stabilised compounds hold their shape better and print a cleaner line for longer. Second, a standard neodymium magnet carries a maximum working temperature close to 80 degrees Celsius. Leaving ordinary N grades in a steam cure cycle is a slow way to lose holding force, because the magnet does not fully recover after repeated exposure. Where magnets stay in the mould, higher-coercivity grades such as H, SH or UH, or ferrite assemblies, are the safer choice.
Thermal movement is easy to underestimate. Rigid PVC expands by roughly 0.005 to 0.007 per cent per degree Celsius, so a 6 m strip can change length by about 15 to 20 mm across a 60 degree swing if it is free to move. Fixing the strip at regular intervals and leaving expansion room at the ends is better than forcing a long profile into a tight channel where it will bow and print a curve on every panel.
Reuse Life, Cleaning and Release Agents
A PVC chamfer strip is a consumable with a long but finite life. In practice, plants report 30 to 60 pours from a magnetic PVC profile used on the same edge, and considerably more when one strip is dedicated to a single pallet and cleaned after every cycle. End of life is visible rather than gradual: the 45 degree face rounds over, the strip develops a set curve, or the ferrous insert begins to separate from the PVC body.
- Wipe cement paste off while it is still soft. Hardened paste has to be scraped, and scraping takes the surface with it.
- Check the 45 degree face with a straightedge every few weeks. A rounded face prints a soft, uneven line that no release agent can fix.
- Store strips flat, out of direct sun and away from heaters. Hanging a strip from one end trains a curl into the profile.
- Inspect the back of the strip for burrs and concrete crumbs. One grain of hardened paste under the profile creates a bump on every panel cast that day.
- Replace rather than repair once the face is damaged. A strip costs far less than the labour to grind one edge back into specification.
Release agent selection matters more than most plants expect. Solvent-based products with a high aromatic content can attack PVC and pull plasticiser out of the surface, which is exactly what makes older strips go hard, brittle and shiny before their time. Water-based or low-aromatic agents keep the profile workable and are easier to remove from the chamfer face. Whatever product is used, apply a thin film and wipe off the surplus, because a heavy coat collects at the bottom of the bevel and leaves a line of bugholes on every cast.
Six Defects at the Chamfer Line and How to Fix Them
Almost every chamfer problem seen on a precast line comes from one of six causes. Each one has a cheap fix and an expensive version of the same fix, and the cheap one is always done before the pour.
- Wavy chamfer line. Fixing points are too far apart or the strip was not straight before it was laid. Tighten spacing to 250 mm and check the fixed strip with a 2 m straightedge before reinforcement goes in.
- Grout fins at strip joints. Ends cut by eye leave a gap of 1 mm or more, and paste fills it on every cast. Cut square, butt the ends tightly, and tape any joint wider than 0.5 mm.
- Spalled arris after stripping. The profile was levered along the edge instead of pulled away from the concrete, or the magnets were not released first. Release the magnets, then lift the strip at 45 degrees.
- Bugholes clustered along the chamfer. Release agent applied too heavily, or the vibrator run too close to the face, driving air to the bevel instead of releasing it.
- Strip embedded in the panel. No release agent, a damaged profile, or concrete flowing behind the strip. Confirm the back face is seated against the mould before pouring.
- Shadow line mismatch between panels. Two different strip sizes, or a worn profile mixed with a new one on the same elevation. Retire worn strips from visible edges and keep them for hidden faces.
Setting Chamfer Strips on the Pallet: A Repeatable Sequence
The sequence below is the one that holds up in a plant running mixed panel types on the same pallet. It takes a few minutes on the first pallet and pays back on every cycle after that.
- Clean the pallet face and check straightness with a 2 m straightedge. A bent pallet edge cannot be corrected with a new strip.
- Cut strips square to length, deburr the ends, and mitre external corners at 45 degrees so both faces meet without a gap.
- Dry-fit the profile with the 45 degree face toward the concrete and the flat back against the pallet.
- Fix with magnets at 300 to 400 mm centres, and add a fixing within 150 mm of each end. Tighten to 250 mm if the strip bows.
- Check joint gaps, then tape any joint wider than 0.5 mm.
- Apply a thin release agent to the strip and the surrounding mould face, then wipe off the excess.
- Place reinforcement, lifting inserts and sockets, keeping cover from the chamfered edge.
- Pour in lifts of 300 to 500 mm and vibrate at 100 to 150 mm from the chamfer without touching the profile.
- Cure to the plant cycle. If steam is used, measure the actual mould temperature next to the magnets rather than trusting the chamber gauge.
- Strip in the right order: release the magnets, pull the strip away from the concrete at 45 degrees, clean it and store it flat.
Where a pallet is switched between panel types several times a shift, the changeover cost sits in the side forms as much as in the chamfer itself. A handled magnetic system turns that step into a one-person job and keeps the same reference point for the chamfer rail on every cycle.
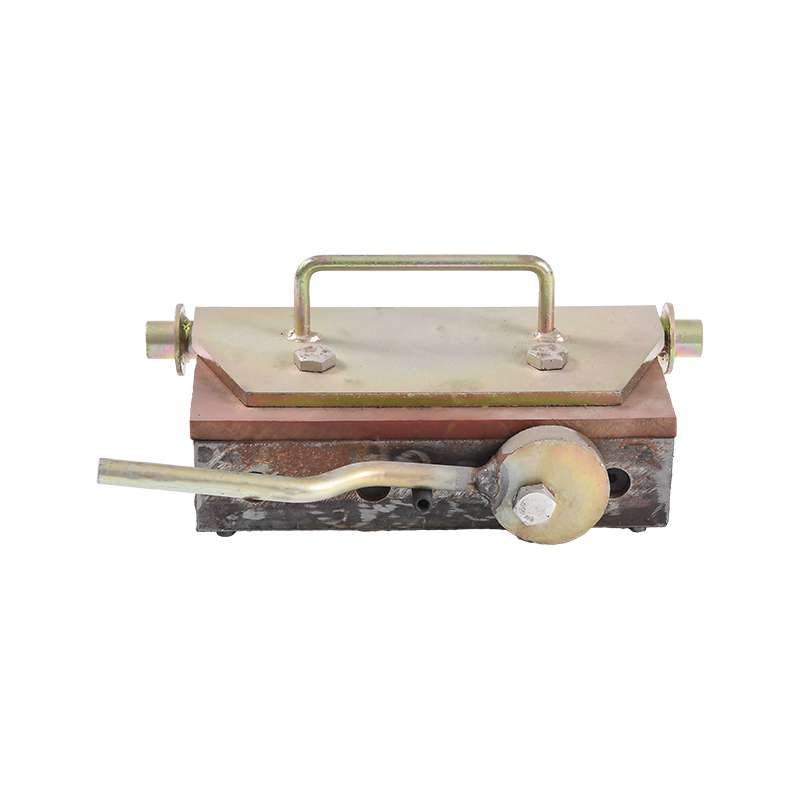
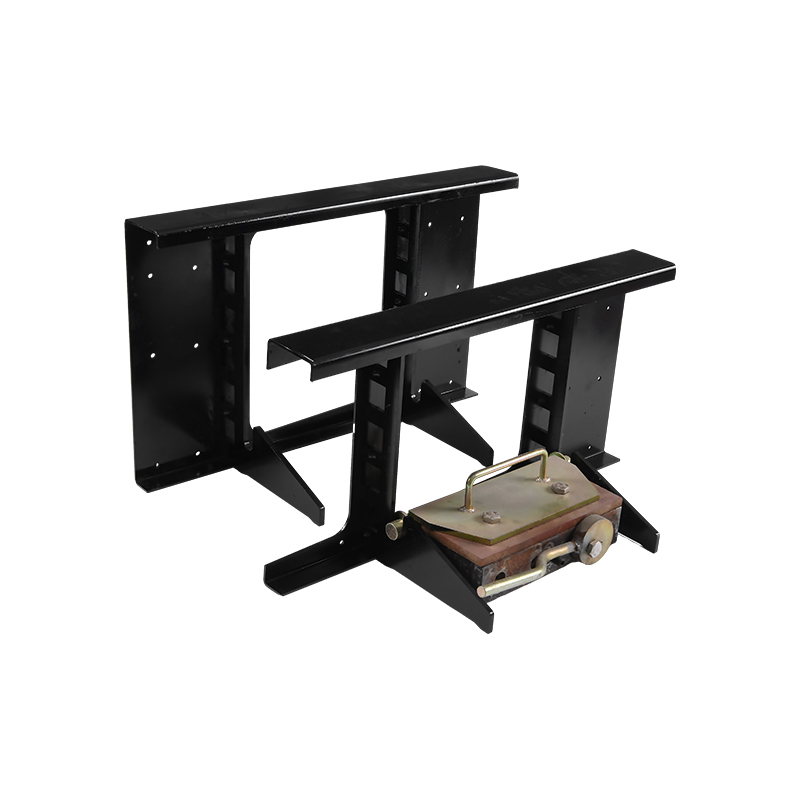 Shuttering magnet with handleShuttering magnets with handles are equipment used in construction to hold formwork in the area. It includes a strong magnet embedded in a plastic or metallic casing a...View Product →
Cost, Lead Time and What to Put in the Purchase Enquiry
Chamfer strips are a small line in the budget and a large influence on the rework column. A 20 mm PVC profile costs a fraction of the labour needed to grind and patch a single rejected arris, and a magnetic profile usually recovers its extra cost the first time it removes a staple-and-fill operation on a long edge. The number that catches people out is lead time: non-standard angles, radius profiles and unusual lengths normally come from a dedicated extrusion run, so a project needing specific stock lengths should raise the enquiry well before the first pour.
- Leg length and angle, or the radius, shown on a dimensioned sketch.
- Total length and preferred stock length, so butt joints land away from visible corners.
- Mould material, whether steel, plywood or plastic, and whether magnets will be used.
- Curing temperature if steam is used, so the magnet grade suits the cycle.
- Required appearance: a sharp shadow line or a soft radius.
- Expected reuse cycles and the number of strips needed per pallet.
- Delivery window and which panels the first strips will be trialled on.
On a steel pallet, a chamfer rail rarely works alone. Side forms, edge rails and stop ends all need a stable clamping point, and carbon steel magnetic boxes give that reference without welding or bolting into the pallet face, which keeps the mould surface flat for the next panel type.
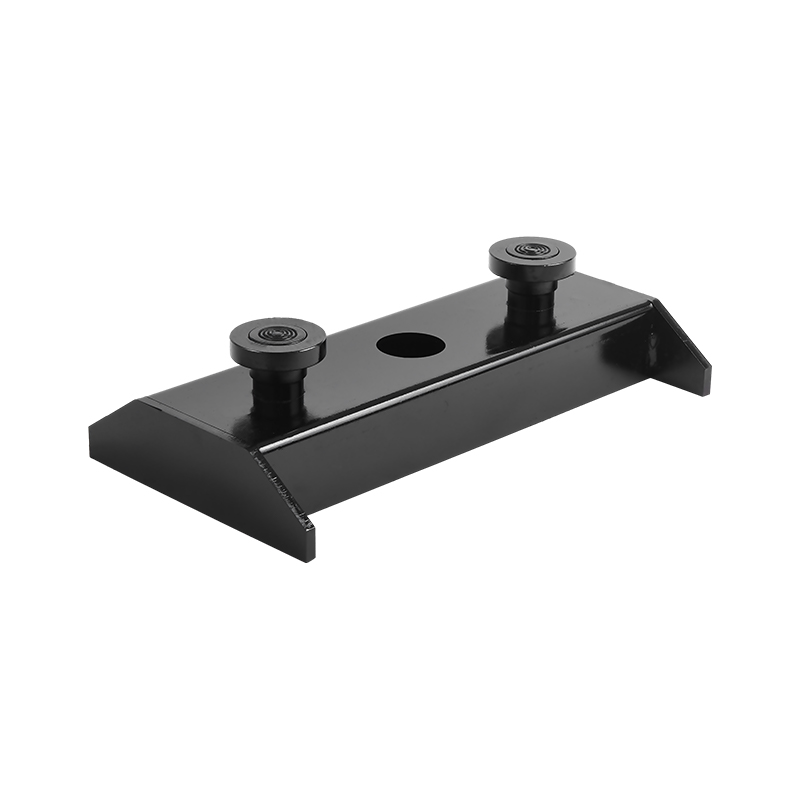 Carbon steel magnetic boxesThe carbon steel magnetic box is manufactured from carbon metallic and is magnetic. Commonly used in industries consisting of production, transportation, and construct...View Product →
Precast and Site-Cast Edges: The Same Strip, Different Priorities
In precast, the chamfer is engineered. The strip is chosen once, mounted on a steel pallet, and repeated hundreds of times, which pushes the priority toward repeatability, magnetic fixing and low changeover time. In site-cast work the form is often used once or twice, so nailed or stapled strips on plywood dominate and the chamfer is more likely to be specified only on exposed edges. That single difference explains why the same 20 mm profile performs perfectly in a plant and produces a ragged line on a site where the plywood edge was already damaged.
Precast plants also tend to standardise, and standardising removes whole categories of complaint. One chamfer size per mould, magnets at fixed positions and a designated storage rack mean replacement mid-shift is a two-minute job rather than a search through the yard for a matching profile.
Site work has its own rules. Staple spacing of 150 to 200 mm, strips set flush with the form face and a straight plywood edge are the three items that decide the finished line. Where a radius is specified on a stair or column, a flexible rubber or machined radius profile replaces the rigid triangular strip, and it has to be fixed more frequently because there is no flat back to sit against the form.
Frequently Asked Questions About Chamfer Strips for Concrete
What size chamfer strip should I use on a 150 mm precast wall panel?
Use 20 mm x 20 mm unless the joint detail says otherwise. Drop to 15 mm when the sealant seat is narrower than 20 mm or a lighter shadow line is wanted, and keep one size across every visible face on the project.
Are magnets strong enough to hold a chamfer strip during vibration?
Yes, on a steel mould face. Fresh concrete presses the strip against the face, so the magnet only has to stop sliding and floating. Fixing at 300 to 400 mm centres suits most profiles, and 250 mm is safer on long runs and thick pours.
How many pours can a PVC chamfer strip survive?
Plants commonly report 30 to 60 pours from a magnetic PVC profile, and more when a strip is dedicated to one pallet and cleaned after every cycle. The practical end of life is a rounded bevel face or a ferrous insert separating from the PVC.
Can a magnetic chamfer strip be used on timber formwork?
No. Magnets need a steel or steel-faced mould. On plywood and timber forms, staple the strip at 150 to 200 mm centres, or use contact adhesive for a one-off pour where no fasteners are allowed.
Does a chamfer strip weaken the concrete edge?
Not in any meaningful way. A 20 mm chamfer removes roughly 200 square millimetres of section per metre of edge, about 0.1 per cent of a 150 mm thick panel, and it normally improves durability because the thin arris that chips is gone.
Is 45 degrees better than a radius?
Forty five degrees is the standard and gives an even shadow line. A 20 to 25 mm radius resists chipping better because there is no thin section at the corner, but joints between radius profiles are harder to keep invisible, which is why radius edges are usually reserved for stairs, columns and bullnose elements.
Why is there a fin along my chamfer line?
Almost always a gap at a butt joint between two strips. Cut the ends square, butt them tightly and tape any joint wider than 0.5 mm. A fin over about 1 mm has to be ground on every panel, and that grinding is where the money disappears.
What curing temperature is too hot for a magnetic chamfer?
It depends on the magnet grade. Standard neodymium grades have a maximum working temperature near 80 degrees Celsius, so a steam cycle at 60 to 70 degrees Celsius is workable but leaves little margin. Higher-coercivity grades or ferrite assemblies are safer for magnets that stay in the mould, and PVC profiles also soften noticeably above 70 degrees Celsius.
Do chamfer strips need release agent?
Yes, a thin film on the bevel face and the mould face beside it, wiped to remove the surplus. A heavy coat collects at the bottom of the bevel and leaves a line of bugholes, while no coat at all risks the strip tearing the arris or staying embedded in the panel.
A chamfer strip is a low-cost part with a disproportionate effect on appearance and rework. Choose the size against the element thickness and the joint design, fix it often enough that it cannot move, keep joints tight, and always set the profile with the bevel facing the concrete. Do those four things and the arris takes care of itself.
- 20 mm x 20 mm for most panels, 15 mm for thin sections, 25 mm for heavy elements.
- Magnets at 300 to 400 mm centres on steel pallets, staples at 150 to 200 mm on plywood.
- Joint gaps under 0.5 mm, or the fin will be there on every panel.
- Match the magnet grade to the cure temperature, not to the catalogue price.
Wewin Magnetics produces magnetically fixed chamfer profiles, shuttering magnets and magnetic clamping components for precast production lines, including custom profiles made to drawing with the magnet grade selected for the plant curing cycle. Enquiries are answered within 24 hours with a proposal covering size, angle, ferrous insert and delivery.