English
 Español
 русский
 日本語
日本語
 عربى
عربى

Content
- 1 The Direct Answer: How Setting Precast Concrete Steps Actually Works
- 2 Types of Precast Concrete Step Configurations and Why the Choice Matters
- 3 Site Preparation and Foundation Requirements Before Setting Steps
- 4 Lifting Systems and Rigging: From Shuttering Magnets to Cast-In Lifting Anchors
- 5 Tools and Equipment Checklist for a Setting Crew
- 6 Seasonal and Weather Considerations When Setting Steps
- 7 Step-by-Step Setting Sequence for Precast Concrete Steps
- 8 Leveling, Shimming, and Alignment Tolerances
- 9 Connection Methods: Grouting, Dowels, and Mechanical Fasteners
- 10 Precast Concrete Steps Compared to Cast-in-Place Steps
- 11 Cost and Timeline Factors That Influence a Precast Step Project
- 12 Safety Considerations During Lifting and Setting
- 13 Common Setting Mistakes and How to Avoid Them
- 14 Maintenance and Long-Term Performance After Installation
- 15 Frequently Asked Questions About Setting Precast Concrete Steps
- 15.1 How long does it take to set a typical flight of precast concrete steps?
- 15.2 Can precast steps be set without a crane?
- 15.3 What happens if the base settles after the steps are set?
- 15.4 Do shuttering magnets affect the final dimensions of a precast step?
- 15.5 Is grout or a dowel connection better for outdoor entry steps?
- 15.6 How much slope should be built into the base under precast steps?
- 15.7 How many precast step configurations are available, and how do I choose between them?
- 15.8 Can precast steps be reset if site conditions change later?
- 15.9 What is the biggest factor in how long a precast step installation lasts?
The Direct Answer: How Setting Precast Concrete Steps Actually Works
Setting precast concrete steps is a five-part sequence: preparing a compacted and leveled base, positioning lifting equipment on the cast unit, hoisting the step into place with a crane or excavator, checking level and alignment against the landing or foundation wall, then locking the unit down with grout, dowels, or mechanical anchors. Most installation failures trace back to two causes: an unprepared base that settles unevenly, and rigging that was chosen incorrectly for the step's weight and pick points. Everything below expands on each stage in detail, including the lifting hardware, tolerances, weather timing, tooling, and connection methods that separate a step installation that lasts thirty years from one that cracks, rocks, or shifts within the first winter.
Precast steps are manufactured off-site under controlled conditions, which is also where a related but different piece of hardware enters the picture: shuttering magnets. These are the clamps that hold the formwork against the steel casting bed while the concrete cures, and the precision of that casting stage directly determines how cleanly a step sets on site months later. A unit cast with poorly seated forms arrives with uneven edges, out-of-square risers, or inconsistent thickness, and every one of those flaws becomes a field problem during setting. Understanding both ends of the process, from formwork to final placement, is what keeps a step installation on schedule and on budget, whether the job is a single homeowner entryway or a multi-unit commercial project with dozens of identical flights to install.
This guide walks through every stage a setting crew actually encounters in the field: reading the site conditions, selecting the right precast configuration, assembling the correct tools and rigging, timing the work around weather, executing the lift itself, checking tolerances, choosing a connection method, avoiding the mistakes that show up months later, and maintaining the finished installation for the long term. Each section stands on its own, so a reader can jump straight to the stage most relevant to their project, or read straight through for a complete picture of the entire process from start to finish.
Types of Precast Concrete Step Configurations and Why the Choice Matters
Not every precast step is the same shape, and the configuration chosen upstream changes almost everything about how the unit gets set later. Understanding the common configurations helps a crew anticipate rigging needs, base requirements, and connection methods before the delivery truck ever arrives.
Single-Piece Monolithic Step Units
A monolithic unit casts an entire flight, whether that is two, three, or four risers, as one solid piece. This configuration offers the fewest joints, which means fewer places for water to work its way behind the structure, and it simplifies the setting process to a single lift. The tradeoff is weight: a four-riser monolithic unit for a standard residential entry can weigh well over a ton, which immediately narrows the crane or equipment options available on a tight urban lot.
Modular Stringer-and-Tread Systems
Modular systems separate the structural stringers from the individual tread panels, allowing each piece to be set independently and assembled on site. This dramatically reduces the weight of any single lift, which opens the door to smaller equipment, but it adds assembly steps and additional connection points that each need to be checked for level and tightness before the flight is considered complete.
Combination Units With Integrated Landings
Where a flight transitions into a porch or platform, combination units cast the landing and the steps as one connected piece. These units simplify alignment between the landing surface and the top riser, which is often the hardest joint to get right when landing and steps are installed as separate pours, but they are also among the heaviest single-lift units a crew will handle, often requiring a larger crane class and a wider swing radius on site.
| Configuration | Typical Weight Range | Lift Complexity | Best Suited For |
|---|---|---|---|
| Monolithic single-piece | 1,200 - 4,500 lbs | Single lift, wide access needed | Residential entries, small commercial doors |
| Modular stringer and tread | 150 - 600 lbs per piece | Multiple lifts, on-site assembly | Tight-access lots, phased installation |
| Combination step and landing | 2,500 - 8,000 lbs | Single heavy lift, wide swing radius | Porch entries, loading platforms |
Site Preparation and Foundation Requirements Before Setting Steps
A precast step is only as stable as what sits underneath it. Before any unit arrives on a truck, the base needs to be excavated to the correct depth, filled with a compactable aggregate, and graded so the finished step meets the landing height called for in the plan. Skipping or rushing this stage is the single biggest predictor of a step installation that needs rework within a year or two.
Base Material and Compaction
Crushed stone in the 3/4 inch minus range compacts more predictably than sand or native soil, because it locks together under vibration instead of shifting later under freeze-thaw cycles. A typical base depth runs 6 to 12 inches depending on soil bearing capacity and frost line depth in the region. Skipping compaction, or compacting in one thick lift instead of two or three thinner ones, is the single most common reason a set of steps develops a rocking motion within the first year. Each lift should be roughly 4 inches loose depth before compaction, since compacting a lift any thicker than that rarely achieves uniform density all the way to the bottom.
Checking for Underground Utilities and Drainage
Before excavation starts, utility locates should be requested and drainage direction confirmed. Steps set against a foundation wall need a slight slope away from the structure, generally around a quarter inch of fall per foot, so water does not pool against the riser and force its way behind the unit. Where the surrounding grade already slopes toward the entry, additional drainage measures such as a shallow swale or a strip drain just in front of the base course can redirect water before it ever reaches the excavation.
Soil Types and Their Impact on Base Design
Clay-heavy soils expand and contract significantly with moisture changes, which makes a deeper, well-draining base course even more important than on sandy or gravelly soils. In regions with expansive clay, some crews add a geotextile fabric layer between the native soil and the base aggregate to prevent fines from migrating upward into the compacted stone over time, which otherwise slowly degrades the base's load-bearing performance.
- Confirm finished grade elevation against the door threshold or landing before excavating.
- Over-excavate by 2 to 3 inches beyond the step footprint to allow room for form boards or edge restraint if needed.
- Test compaction with a plate compactor pass in at least two directions before placing the base course.
- Place a geotextile separation layer where native soil is silty, clay-heavy, or prone to seasonal heaving.
- Re-check elevation with a laser level after each compacted lift, not just at the very end.
Lifting Systems and Rigging: From Shuttering Magnets to Cast-In Lifting Anchors
Precast steps move twice before they are permanently set: once out of the mold at the casting yard, and again when they are picked off the delivery truck and lowered onto the prepared base. Both moves depend on hardware that was decided long before the truck ever left the yard, and both moves deserve careful attention, since a mishandled lift can crack a unit that would otherwise have performed perfectly for decades.
How Shuttering Magnets Shape the Final Product
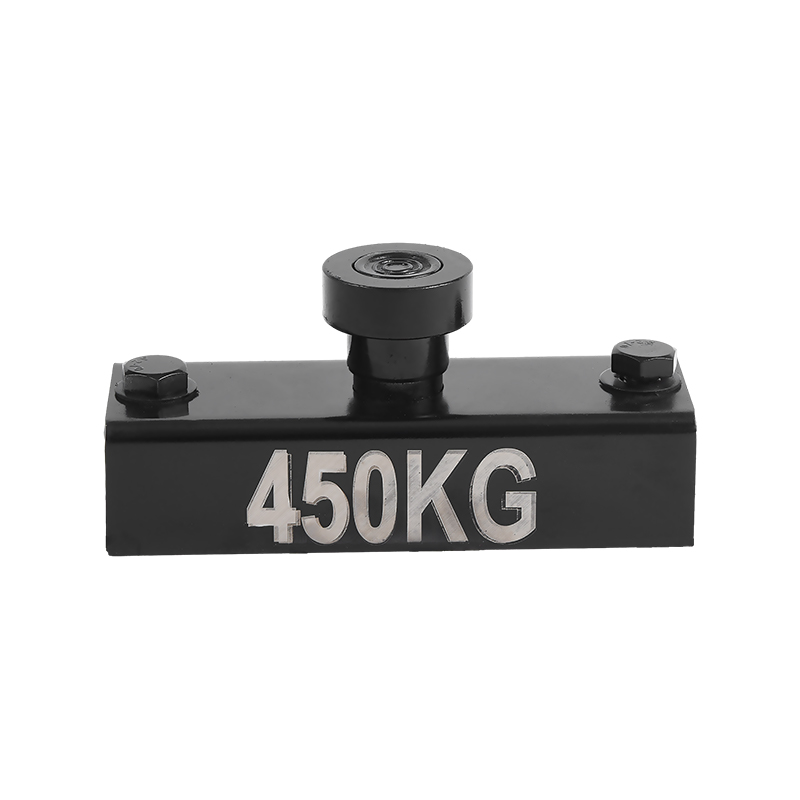
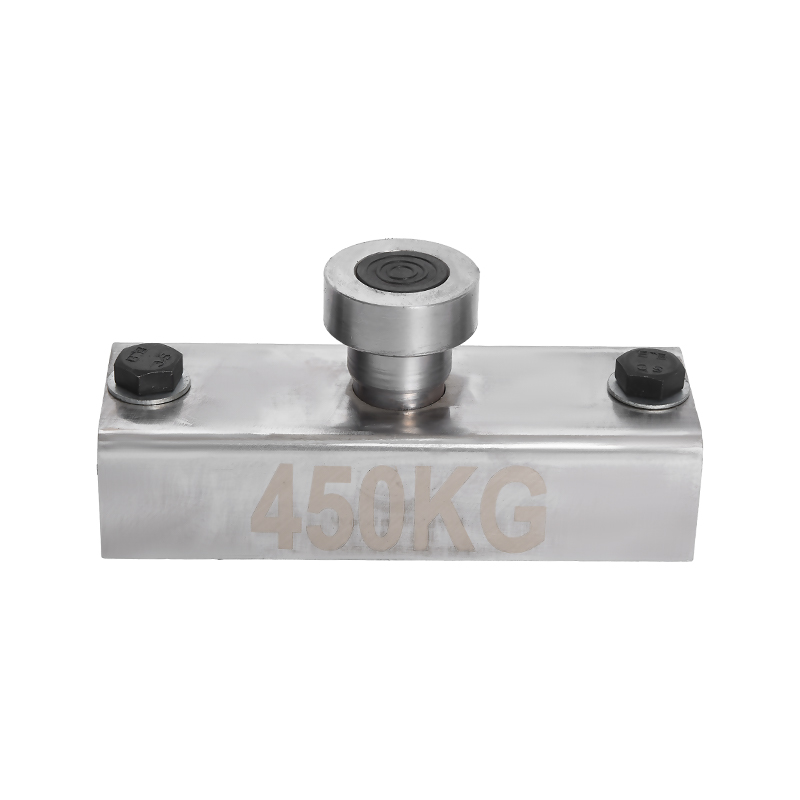
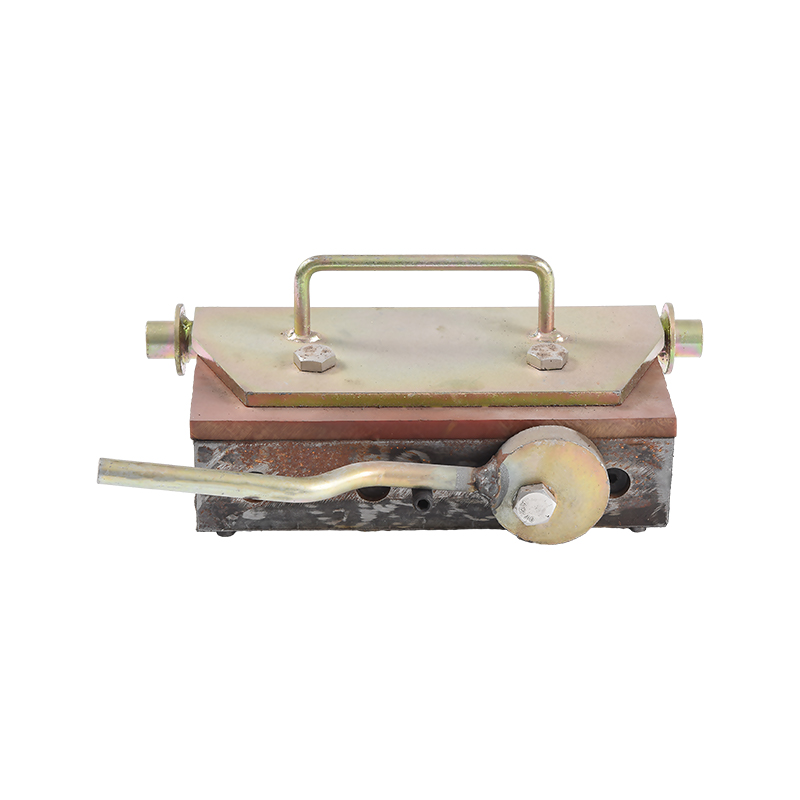
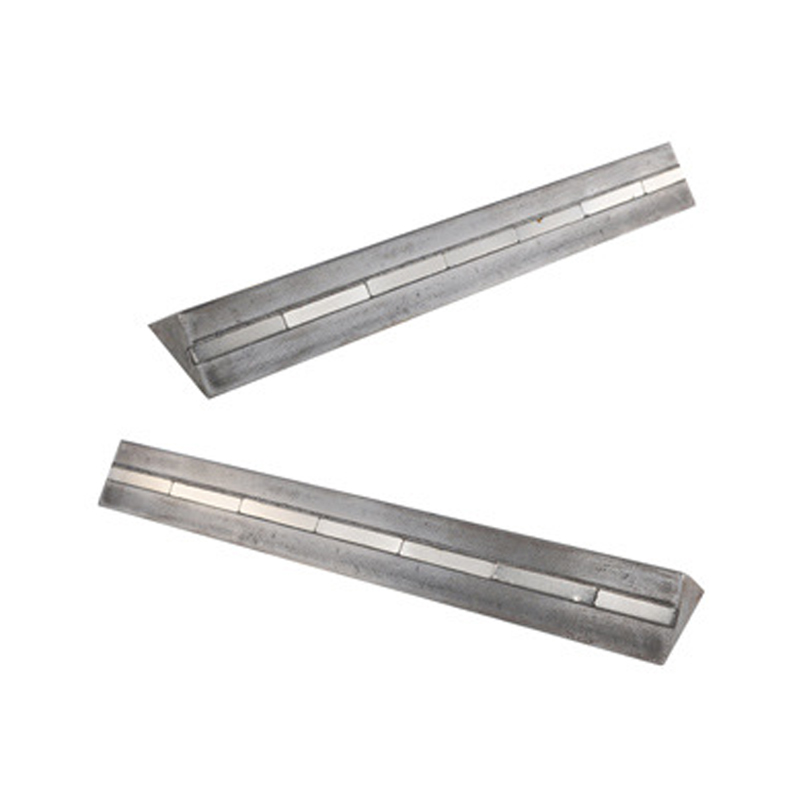
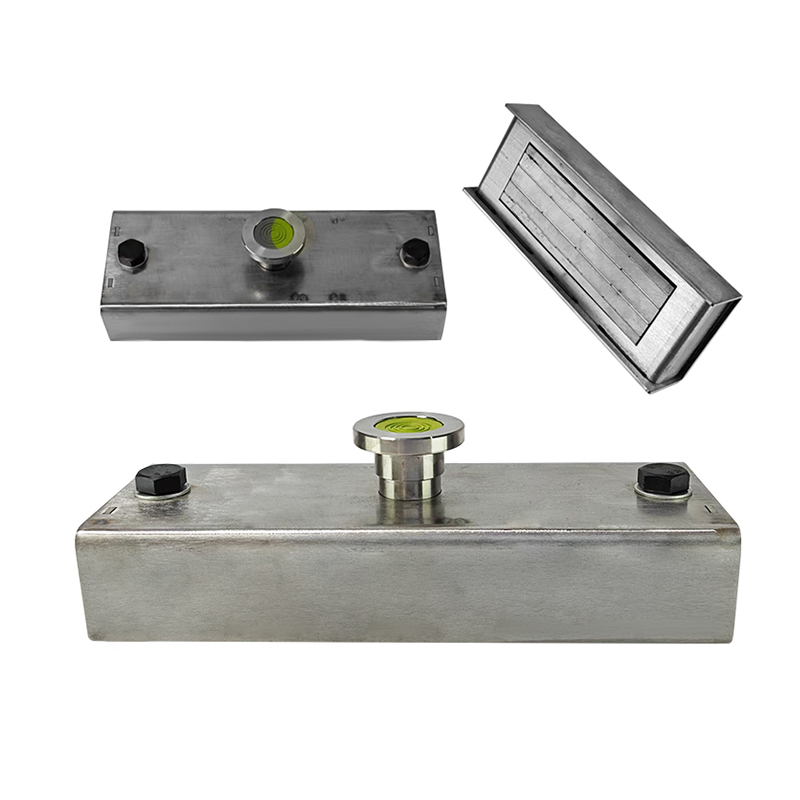
During casting, shuttering magnets hold the formwork panels flush against the steel table with pull forces commonly ranging from 450 kilograms up to 2,600 kilograms per unit, depending on the panel size and the pour pressure involved. A switchable neodymium magnet locks the form in position with a single push of a button, and releases just as fast once the concrete has cured, which is why these magnets have largely replaced the older method of bolting or hammering forms into position. That older method routinely scarred the steel table and chipped the edge of the formwork, and those small imperfections carried straight through to every step cast afterward. A form held evenly by shuttering magnets produces a step with a true square nosing and consistent riser height, which matters enormously once the crew is trying to set six or eight units in a row and expects each tread to line up with the next.
Why Formwork Precision Travels Downstream to the Job Site
A precast yard that maintains tight formwork tolerances at the casting stage passes that precision directly to the installation crew months later. When riser heights vary by even a quarter inch from unit to unit, a crew has to compensate with extra shimming or grout thickness at every joint, which adds labor hours and increases the chance of a visible inconsistency once the flight is finished. Yards that rely on a well-maintained magnetic formwork system, rather than improvised clamps or field-fabricated forms, tend to deliver units with edge tolerances tight enough that on-site adjustment is minimal.
Choosing Lift Points on the Finished Unit
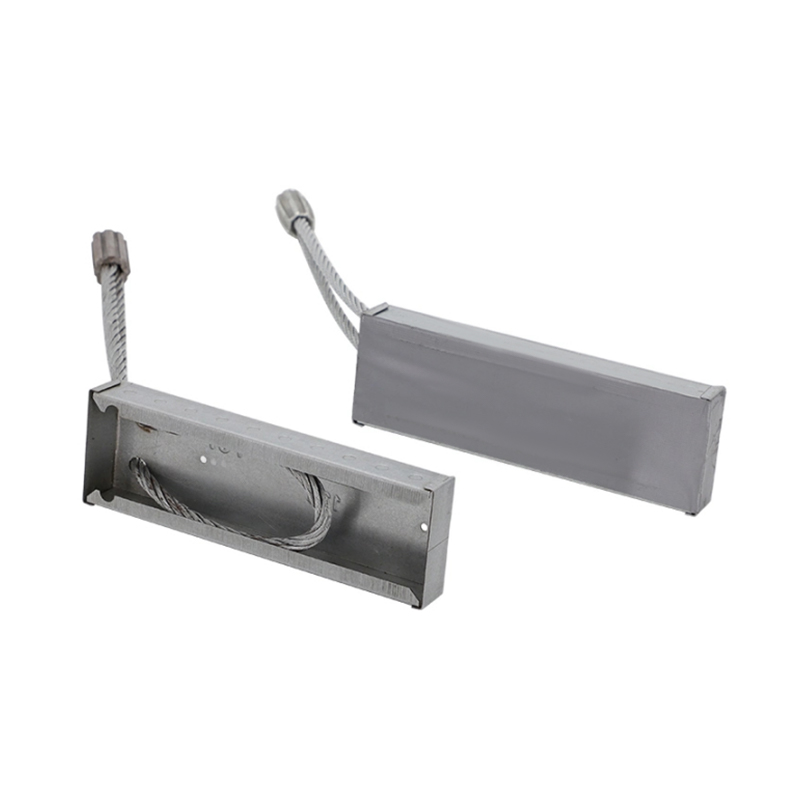
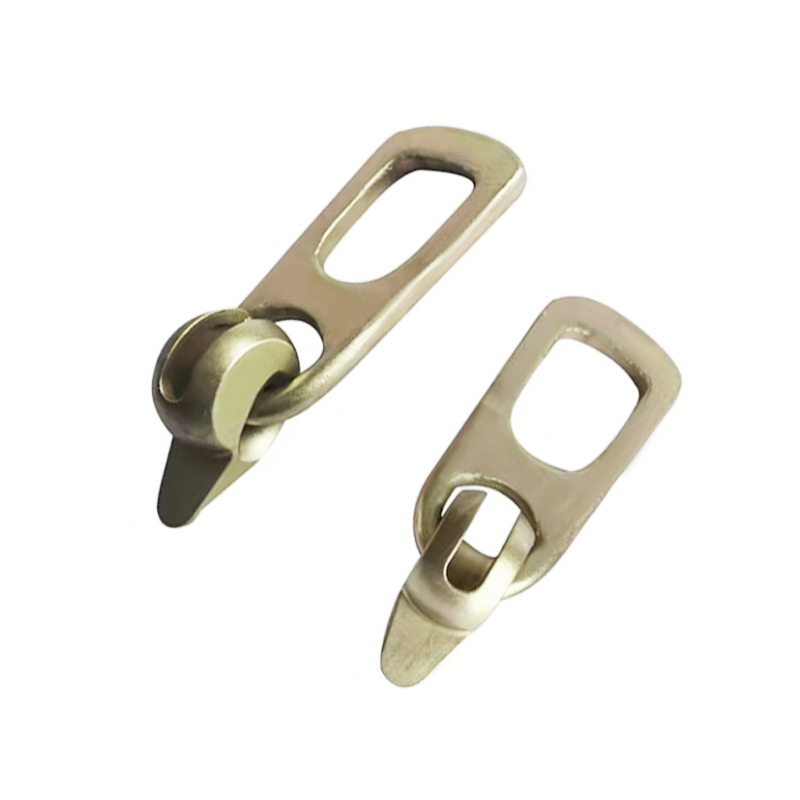
Cast-in lifting anchors or lifting loops are placed during the pour at points calculated to balance the unit's center of gravity. For a standard step unit, this typically means two lift points positioned roughly a third of the way in from each end. Rigging with a spreader bar rather than a simple two-leg chain keeps the sling angle close to vertical, which reduces the horizontal load on the anchors and lowers the risk of a hairline crack forming near the pick point during the lift. For combination units with an integrated landing, four lift points are common, and the rigging plan needs to account for the uneven weight distribution between the landing slab and the step risers below it.
Matching Equipment Capacity to Unit Weight
Every lift plan starts with an accurate weight figure for the specific unit being handled, including any integrated landing or railing embeds. A crane or excavator-mounted lifting attachment should carry a working load limit well above the unit weight, factoring in the sling angle, since a two-leg sling at a 45 degree angle can multiply the effective load on each leg significantly compared to a vertical pick.
| Panel Size Category | Typical Magnet Pull Force | Common Application |
|---|---|---|
| Small step and edge forms | 450 - 900 kg | Riser boards, chamfer strips, edge returns |
| Mid-size wall and slab forms | 1000 - 1600 kg | Flat panel casting beds, general formwork |
| Large structural panels | 1800 - 2600 kg | Heavy precast wall and platform forms |
Tools and Equipment Checklist for a Setting Crew
Arriving on site with the right tools staged and ready prevents the most common source of delay on a setting day: stopping mid-lift to go find something that should have been on the truck already.
- Plate compactor and hand tamper for base preparation and touch-up work in corners the plate cannot reach.
- Laser level or transit with a tripod, for checking base elevation and final tread level from multiple points.
- Four-foot and two-foot spirit levels, for quick checks that do not require setting up the laser each time.
- Rated slings, shackles, and a spreader bar sized to the specific unit weight and lift point spacing.
- Taglines for guiding the unit during the final lower, rather than reaching in by hand.
- Composite or plastic shims in varied thicknesses, kept sorted so the right size is easy to find under time pressure.
- Non-shrink grout, mixing paddle, and a pump or grout bag for placing grout beneath the bearing surface.
- Rotary hammer drill and epoxy cartridge system for setting dowel bars into an adjacent foundation wall.
- Flexible polyurethane sealant and a caulking gun for finishing any control joints once the unit is fully cured in place.

Seasonal and Weather Considerations When Setting Steps
Weather affects nearly every stage of a step installation, from how the base compacts to how quickly grout cures, and planning around it saves rework later.
Setting Steps in Cold Weather
Base material should never be compacted over frozen ground, since the frost layer thaws unevenly in spring and takes the compacted stone down with it. Non-shrink grout also behaves differently in cold temperatures, curing more slowly and reaching design strength later than it would in warmer conditions, so crews working in cold weather often switch to a cold-weather grout formulation or delay final connection work until temperatures stabilize above freezing for a sustained period.
Setting Steps in Hot, Dry Conditions
In hot weather, grout can set faster than expected and lose workability before it has fully filled every void beneath the bearing surface. Keeping grout materials shaded before mixing, working in smaller batches, and lightly misting the surrounding area to reduce evaporation all help maintain a full, void-free bearing surface under the unit.
Rain and Saturated Base Material
A base course that has absorbed significant rainfall right before setting day will not compact to the same density as one tested and compacted under normal moisture conditions. Where rain is unavoidable, covering the excavation with a tarp overnight, or planning the compaction pass for the morning after the ground has had a chance to drain, protects the investment already made in base preparation.
Step-by-Step Setting Sequence for Precast Concrete Steps
Once the base is compacted and the rigging is attached, the actual setting sequence follows a consistent order regardless of the step size or configuration.
- Confirm the base elevation one final time with a laser level or string line before the crane makes the pick.
- Attach the spreader bar and slings to the cast-in lift points, then take up slack slowly to confirm the unit hangs level before lifting it clear of the truck bed.
- Guide the unit down slowly, using taglines rather than hands, and stop roughly 6 inches above the base to make a final visual check of orientation.
- Lower the unit fully onto the base and release tension gradually rather than dropping the slings all at once.
- Check level across the tread and square against the adjacent wall or landing before disconnecting the rigging.
- Adjust shims at any high or low corner identified during the level check, keeping the rigging attached until the unit is confirmed stable.
- Disconnect the rigging only once the unit sits stable under its own weight without shifting.
- Shim, grout, or dowel the unit into its final position, as covered in the next two sections.
- Backfill around the sides only after the connection method has reached sufficient strength to resist lateral movement.
Crews that set several steps at once benefit from staging units in the order they will be installed, since re-rigging a unit that was set down in the wrong sequence wastes far more time than planning the delivery order in advance. On larger projects with multiple flights, numbering each unit and cross-referencing it against a placement drawing prevents units of slightly different dimensions from ending up in the wrong location.
Leveling, Shimming, and Alignment Tolerances
A step that looks level to the eye can still be out of tolerance enough to create a trip hazard or an uneven load path into the foundation. Most residential and light commercial specifications call for a maximum deviation of 1/8 inch across a 4-foot span for the tread surface, with riser heights held within 3/8 inch of each other across a full flight.
Shimming Techniques That Hold Up Over Time
Plastic or composite shims are preferred over wood, since wood compresses and rots under sustained load and moisture exposure. Shims should be placed near the corners and at any midpoint bearing area identified in the shop drawing, never stacked more than three high in one location, since a tall shim stack becomes its own point of instability. Where a gap exceeds what a reasonable shim stack can bridge, adding compacted fill beneath that specific location before re-checking level is a better long-term solution than relying on an oversized shim pile.
Reading the Tread for True Level
A four-foot level checked in both the front-to-back and side-to-side direction catches most alignment issues. Where a flight includes multiple units, checking level unit-to-unit at the joint line matters just as much as checking each individual step, since a small step-to-step mismatch compounds visually and physically across a full staircase.
Checking Nosing Alignment and Riser Consistency
Beyond simple level, the nosing edge on each tread should align in a straight line when viewed from the side, and riser heights should feel identical underfoot. A person walking a flight of steps notices even small riser inconsistencies as a subtle stumble, which is why professional crews check riser height with a tape measure at both ends of each tread rather than relying on a visual check alone.
Connection Methods: Grouting, Dowels, and Mechanical Fasteners
After a step is leveled, it needs to be locked against lateral movement and uplift. Three methods dominate current practice, and the choice usually comes down to soil conditions, exposure to seismic activity, and whether the step bears against a foundation wall or sits as a standalone unit.
Non-Shrink Grout Beneath the Bearing Surface
Non-shrink grout is pumped or poured beneath the tread's bearing points after shimming, filling any gap between the shim locations and providing full, continuous contact across the base. This method works well where the base is stable and the main concern is closing small voids rather than resisting significant lateral force. Grout should be worked into every void with a rod or paddle to eliminate trapped air pockets, since an air pocket beneath the bearing surface becomes a weak point that can telegraph as a crack once the unit is loaded repeatedly.
Dowel Bars Into the Foundation Wall
Where a step bears directly against a foundation, dowel bars drilled and epoxied into the wall, then embedded into a matching pocket cast into the step, tie the two elements together and prevent the step from sliding away from the wall over time. Dowel spacing of 16 to 24 inches on center is typical for residential entry steps. The drilled hole should be cleaned of dust thoroughly before the epoxy is injected, since residual dust is one of the most common reasons a dowel bond underperforms compared to its rated pull-out strength.
Mechanical Anchors and Angle Brackets
In situations where drilling into the foundation is not practical, galvanized angle brackets bolted through the step base and into the adjacent slab or footing offer a removable, adjustable connection. This method is common on retrofit projects where an existing structure limits how much can be altered, or on projects where the step may need to be removed and reset later for other site work.
Combining Methods for Higher Load or Exposure Conditions
On projects where the entry sees heavy foot traffic, delivery equipment, or exposure to significant lateral loads, combining grout with dowels provides both a solid bearing surface and mechanical resistance against sliding, rather than relying on either method alone.
Precast Concrete Steps Compared to Cast-in-Place Steps
Many projects weigh precast against pouring steps in place, and the right choice depends heavily on schedule, site access, and how much finish consistency matters for the final appearance.
| Factor | Precast Steps | Cast-in-Place Steps |
|---|---|---|
| Installation speed | Hours once the base is ready | Days for forming, pouring, and curing |
| Dimensional consistency | Very high, controlled by shop formwork | Depends on field forming precision |
| Site access requirements | Needs crane or lifting equipment access | Needs space for forms and material staging |
| Weather sensitivity | Low, since curing happens off-site | Higher, curing conditions matter on site |
| Custom shapes and curves | Requires a custom mold in advance | More flexible for one-off shapes |
Cost and Timeline Factors That Influence a Precast Step Project
Beyond the price of the unit itself, several factors shape the overall cost and schedule of a precast step installation, and accounting for them early avoids surprises once the crew is on site.
- Crane rental and mobilization, which varies significantly based on unit weight and how close the truck can get to the final placement location.
- Base excavation and disposal of excess spoil, particularly where existing steps or a slab need to be removed first.
- Aggregate base material volume, which scales with both the footprint of the unit and the required base depth for local soil and frost conditions.
- Lead time from the precast yard, since a custom width, riser count, or finish can add production time compared to a standard stock configuration.
- Access constraints on the delivery route, since a narrow driveway or overhead obstruction can require a smaller unit split into modular pieces rather than one large monolithic pour.
Safety Considerations During Lifting and Setting
Setting precast steps involves suspended loads over a live work area, and a handful of consistent safety practices keep the process free of incident.
- Keep all personnel clear of the area directly beneath a suspended load at every stage of the lift, using taglines to control position instead of standing underneath to guide by hand.
- Inspect slings, shackles, and spreader bars for wear or deformation before every lift, retiring any hardware that shows visible damage.
- Confirm ground conditions under crane outriggers can support the load, using cribbing or mats on soft or uneven ground.
- Communicate lift signals clearly between the equipment operator and the ground crew, using a single designated signal person to avoid conflicting instructions.
- Wait for full, stable contact with the base before disconnecting any rigging, rather than releasing tension the moment the unit appears to be resting.
Common Setting Mistakes and How to Avoid Them
Most problems that show up months after installation trace back to shortcuts taken during the setting process itself, not to the precast unit being defective.
- Setting steps on frozen or saturated base material, which settles unevenly once conditions change.
- Rigging from field-drilled holes instead of the cast-in lift points, which stresses the concrete in locations it was not designed to carry load.
- Skipping the final level check after the rigging is removed, since a unit can shift slightly the moment the crane load comes off.
- Using wood shims in a location exposed to moisture, leading to gradual settlement as the shims degrade.
- Backfilling around the sides of the step before the connection method has fully set, which can shift the unit out of alignment.
- Underestimating unit weight when selecting a crane or lifting attachment, leading to a rushed, undersized lift plan on delivery day.
- Ignoring drainage slope during base grading, which leaves water pooling against the riser after every rainfall.
- Mixing grout too thin to save time, which reduces its bearing strength and increases shrinkage once cured.
Maintenance and Long-Term Performance After Installation
Once a precast step is set, grouted, and backfilled, ongoing maintenance is minimal but not zero. Checking the joint line between the step and the foundation once a year for new gaps is the simplest way to catch base settlement early, before it becomes a larger repair. In regions with heavy freeze-thaw cycling, inspecting for hairline cracking near the nosing edge each spring helps identify whether water has been getting behind the unit during winter months. Resealing any control joints with a flexible sealant every few years keeps water from working its way down to the base material, which is ultimately what determines how long the entire installation performs as designed.
Keeping the surrounding grade clear of soil or mulch buildup against the riser face also prevents moisture from sitting against the concrete surface longer than necessary. Where a step shows early signs of settlement, addressing the base condition immediately, rather than waiting for the gap to widen further, keeps the eventual repair small and straightforward instead of requiring a full re-lift and re-set of the unit.
Frequently Asked Questions About Setting Precast Concrete Steps
How long does it take to set a typical flight of precast concrete steps?
A crew with a properly prepared base and the right rigging on hand can usually set and level a standard three or four unit flight of steps within a single working day, including the final grouting or dowel work.
Can precast steps be set without a crane?
Smaller units under a few hundred pounds can sometimes be moved with a mini excavator or skid steer fitted with a lifting attachment, but anything above that weight range needs a crane or similar rigging equipment attached to the cast-in lift points for safe handling.
What happens if the base settles after the steps are set?
Uneven settlement usually shows up as a widening gap at one corner of the unit or a slight rocking motion underfoot. The fix typically involves re-lifting the unit, adding compacted fill or additional grout beneath the low corner, and re-setting it to level rather than trying to shim from the top.
Do shuttering magnets affect the final dimensions of a precast step?
Yes, indirectly. Since shuttering magnets hold the formwork tightly and evenly against the casting bed during the pour, they help keep the finished tread, riser, and nosing dimensions consistent across every unit cast from that mold, which makes field alignment during setting noticeably easier.
Is grout or a dowel connection better for outdoor entry steps?
Grout alone works for stable soil conditions with minimal lateral demand, while dowels into the foundation wall provide additional resistance against sliding and are generally recommended wherever the step bears directly against a structure.
How much slope should be built into the base under precast steps?
A gentle slope of about a quarter inch of fall per foot, directed away from any adjacent foundation wall, is the standard target to keep water moving away from the structure rather than pooling behind the step.
How many precast step configurations are available, and how do I choose between them?
Monolithic single-piece units, modular stringer-and-tread systems, and combination units with an integrated landing cover most project needs. The right choice generally comes down to site access for lifting equipment and how much on-site assembly the schedule can accommodate.
Can precast steps be reset if site conditions change later?
Yes, particularly where a mechanical anchor connection was used instead of a permanent grout and dowel combination. Re-rigging the same cast-in lift points used during the original installation allows the unit to be lifted, the base adjusted, and the step reset without damaging the concrete.
What is the biggest factor in how long a precast step installation lasts?
icBase preparation consistently outweighs every other factor. A well-compacted, well-drained base beneath a properly leveled and connected unit is what prevents the settlement, cracking, and rocking that account for the vast majority of premature step failures.